
 User guide
Creating an integration

To see and create any integration in Kissflow, integration must be enabled in Flow Settings. If you don’t have sufficient permission to access this page, contact your Super Admin.
To create a Kissflow Integration from scratch, access your profile picture on the top right corner and click Integrations. Under the Integrations tab > click the New integration button. Provide a name and description (optional) for the integration and click Create.
Setting up a trigger
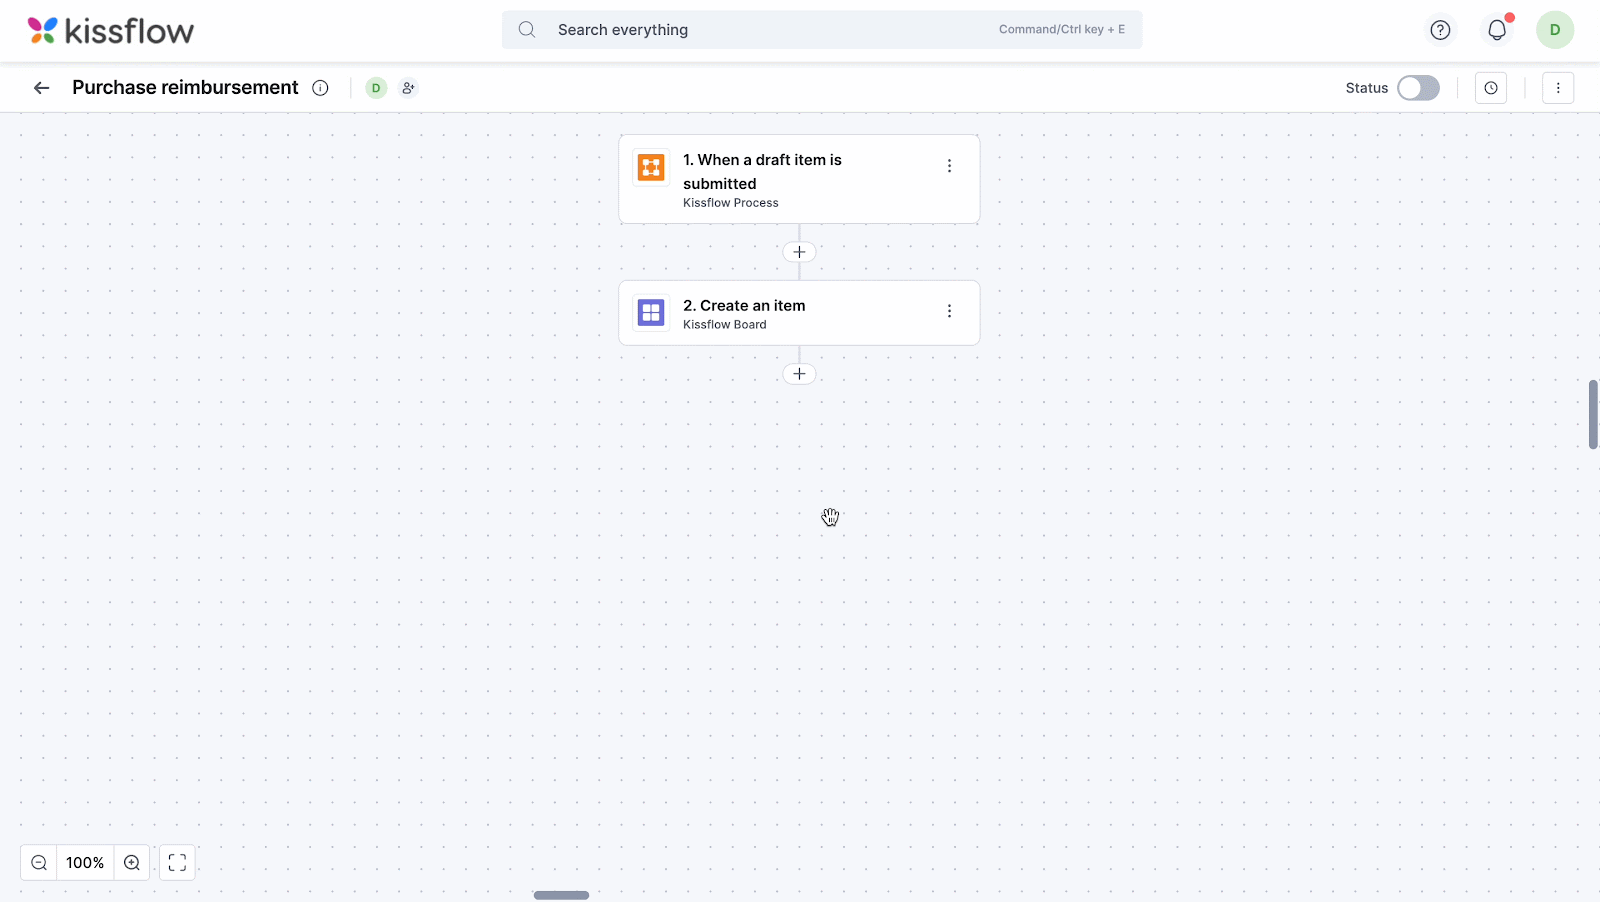
To create a trigger step, follow the steps below:
To add a trigger, follow the steps below:
- Click Add a trigger and choose a connector. The integration will be triggered based on the event that occurs in this connector.
- Select your trigger event. This will be the event that occurs in the selected connector that triggers the integration.
- Authenticate your connection. Authenticate the connector by setting up a connection. You can link to your Kissflow account or use another Kissflow account to authenticate the connector. Internal connections are established using the Access key and secret token-based authentication. For third-party app connectors, authenticate the connector account using OAuth.
Note:
To create connections, go to Integrations > Connections, and click New connection.
- Configure your trigger step. Customize your connector app to send data of your preference.
- Test your trigger. Test your trigger output to see if the trigger connector is properly configured.

If you encounter any errors while setting up the trigger, you will see all those error messages on the left side of the page. Clicking an error will take you to the step that has the error, from where you can troubleshoot it.
Note:
Even if the Access key associated with your trigger connection is deleted or turned off, your integration trigger will continue to operate.

Setting up actions
Similar to the trigger step, set up your action by choosing your action connector and event:
- Select your action connector. The action is activated by the trigger step or another action step.
- Select your action event. This will be the event that occurs in the selected connector when it is triggered.

- Authenticate your app connection. Authenticate the connector by setting up a connection. You can link to your Kissflow account or use another Kissflow account to authenticate the connector. Internal connections are established using the Access key and secret token based authentication. For third-party app connectors, authenticate the connector account using OAuth.
Note:
To create connections, go to Integrations > Connections, and click New connection.
- Customize your action step. Customize the app data that you want to send over to your action connector.
- Test your action. Test your action output to see if it's working as expected.
Note:
If the Access key associated with your connection is deleted or turned off, your integration action will be halted. To restart the action, update your connection with a new access key.
Duplicating actions
You can duplicate an existing action by copying and pasting it above or below any action in the same integration. This saves you the time and effort of manually recreating an existing action inside an integration.
The new duplicated action will have the same configuration as the original action except for its name. The default name of the new action will be Copy of <original action’s name>, which you can change later.
To duplicate an integration action,
- Click the More options button (
 ) on the action > Copy.
 - Click the Click to paste here button in the desired position to paste the action.
Let’s say you want to add a new action similar to an existing one but with a slightly different configuration. You can duplicate the existing action and modify the duplicate one rather than create one from scratch.
Rearranging actions
If you have multiple actions, you can rearrange their order using this duplication feature. Copy the action you want to rearrange, paste it into the desired position, and delete the original action.
Naming your integration and connectors
When you create an integration, you must first add a title and a brief description to it. You can change these at a later stage by clicking the name of your connector and entering a new name. You can also update the description by clicking the ( ) icon beside the title.

Similarly, you can change the name of each trigger or action steps. Just click the More options button (![]() ) > Rename or click the default name of the connector, then enter your text in the field. Your changes will be saved automatically.
) > Rename or click the default name of the connector, then enter your text in the field. Your changes will be saved automatically.
Turn on your integration
After you build your integration, the next step is to turn it on. You can click the toggle button in the upper right corner of the editor to switch it ON.
After your integration is turned on, it’ll automatically run your action steps each time your trigger event occurs. You can also view your integration’s Run history to see a log of all your successful and failed integration runs with data that goes in and out of each of your integration steps.