
 User guide
Configuring a board form

Every item in a board begins with a form. A form is where you can record all the data for an item. You can customize a board form to include fields you need to capture the essential information for your workflow. You can also set the visibility conditions for sections, fields, and tables across different statuses. Overall, these features offer you more control over the item and how users interact with various fields of the item across statuses.
To customize the board form, click the More options button ( ) > Edit form.
The following fields are system fields and cannot be modified or deleted.
Field |
Description |
Assignee |
The item is assigned to this person. You can only assign items to users who are members of the board. |
Priority |
This field indicates the level of urgency to close an item. You can set the priority to either Low, Medium, High, or Critical. When creating a new item, the priority is set to Low by default.
|
Start date |
An item will start on this date and time |
Due date |
An item must be closed by this date and time. |
Requester |
The person who has requested an item. This is not necessarily the person who has created the item in the board. For instance, an item can be requested by a user who is not a member of the board. However, it can only be created in the board by a member. |

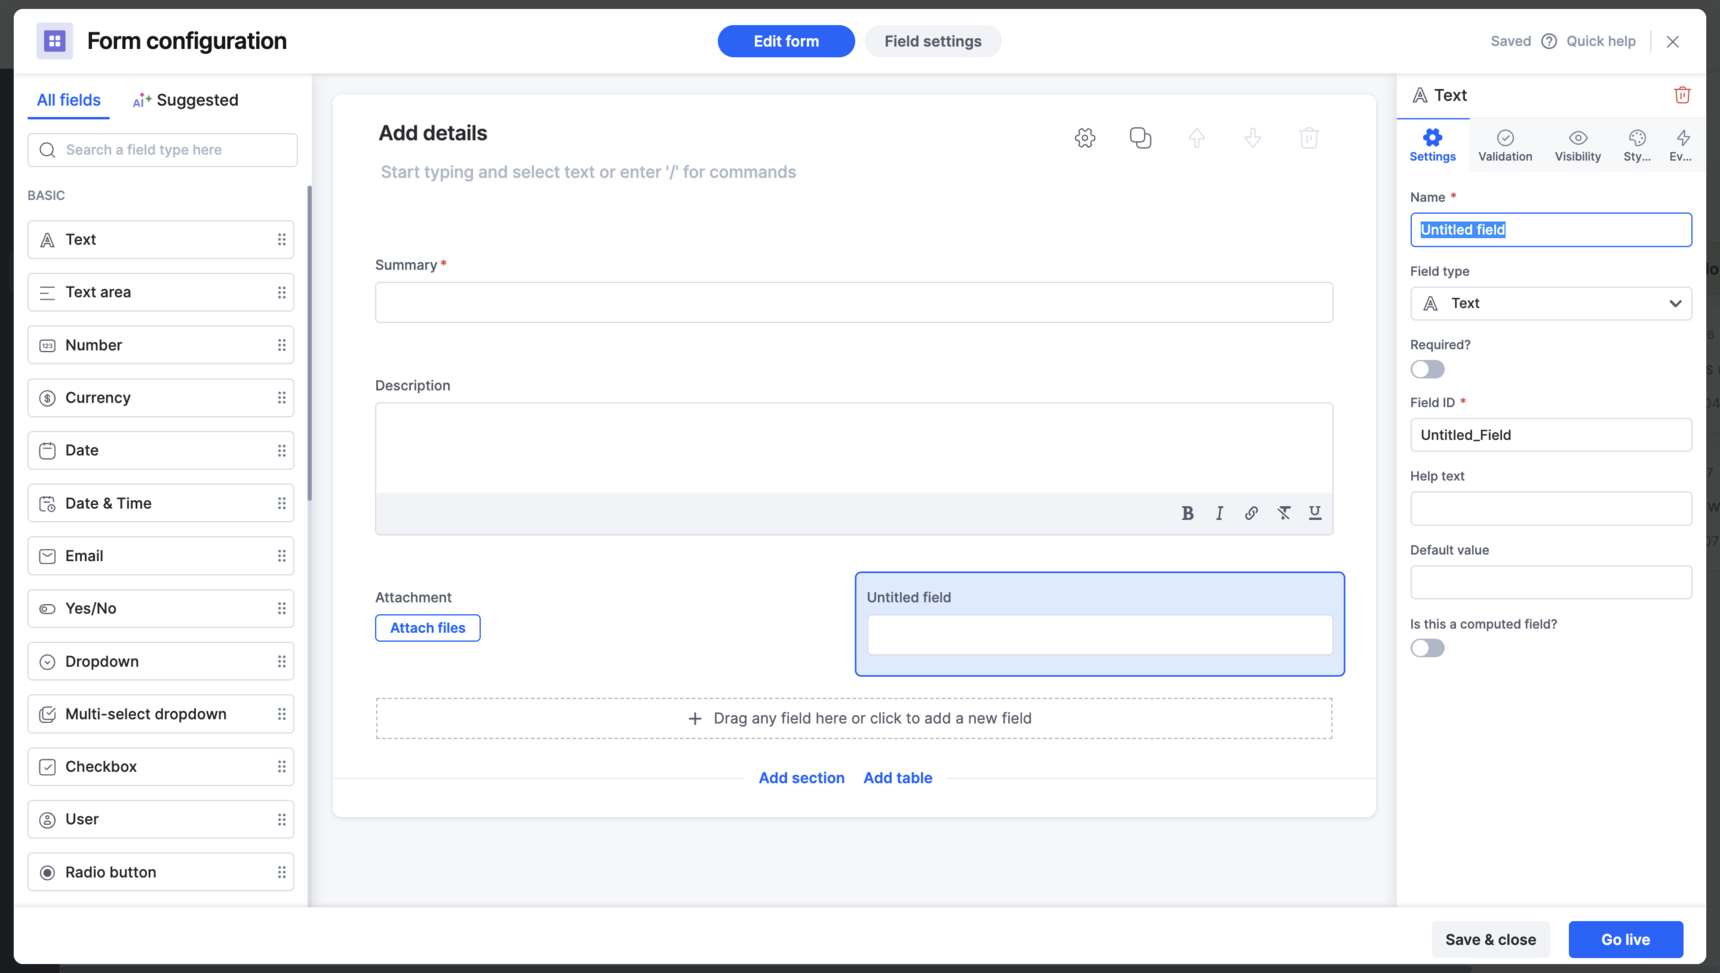
Apart from these default system fields, you can add as many custom fields as you want to a form by clicking a new field or dragging and dropping them onto the form editor.
The live form will look exactly like how you create it here. To rearrange fields, drag and drop them where you want them to go. You can move individual fields or an entire row of fields. Fields can be resized to any dimension you need. Drag to resize the width of the field.
Change the name of a field, make it required, or add default values. You can also create rules for validation, visibility, and appearance of the field.
Managing field settings
You can configure the visibility of sections, fields, and tables for different statuses from the Field settings tab. You can also edit your workflow from this tab.
The various workflow statuses are mentioned on the left side of the window, while the form fields are displayed on the right. Select the status for which you wish to change the field settings and hover over any field to show its field visibility settings dropdown. You have the option of selecting one of the following field visibility settings:
- Editable - The field in the selected status can be altered..
- Read-only - In the selected status, the field can only be viewed and not modified.
- Hidden - The field will be hidden and cannot be viewed or edited.
- Global visibility - Configure the visibility settings of the selected field across different statuses
Sections and tables have the same options. To access them, hover over a section or table, and the options will appear as icons in the top right corner.

Global visibility
With Global visibility, you can configure the visibility of a particular section, field, or table across different statuses in one go. You can access the Global visibility popup from the field settings dropdown.
Select the section, field, or table you wish to customize visibility for from the left side of the popup, and then set the visibility for each status from the right side of the popup. When you're finished, click Save.
When you've completed configuring the form, click Go live.