
 User guide
Creating a form

A form is an entity with which you can collect input from the people who participate in your workflow. Forms are predominantly used in flows like processes, projects, and boards in Kissflow. A form has three primary components - section, field, and table.
Sections
A section is a group of fields that are related to each other. As a Flow Admin, you can create a section to place a set of fields that are attributes of the main entity around which the flow revolves.
Note:
For example, when you create a process workflow to streamline the hiring processes in your organization, a typical form in your hiring process will require a section named "Candidate information" to collect and store information about the candidates who will go through the hiring process. The fields that can be placed in the Candidate information section are First name, Last name, Work experience, Employment type, etc.,
To add a new section, click Add section.
Initially, the name of the section will be set to "Untitled section" by default. You can overwrite the section name to something of your choice and proceed to add a description beneath as necessary. You can also rename a section from the right panel and your changes will be autosaved.
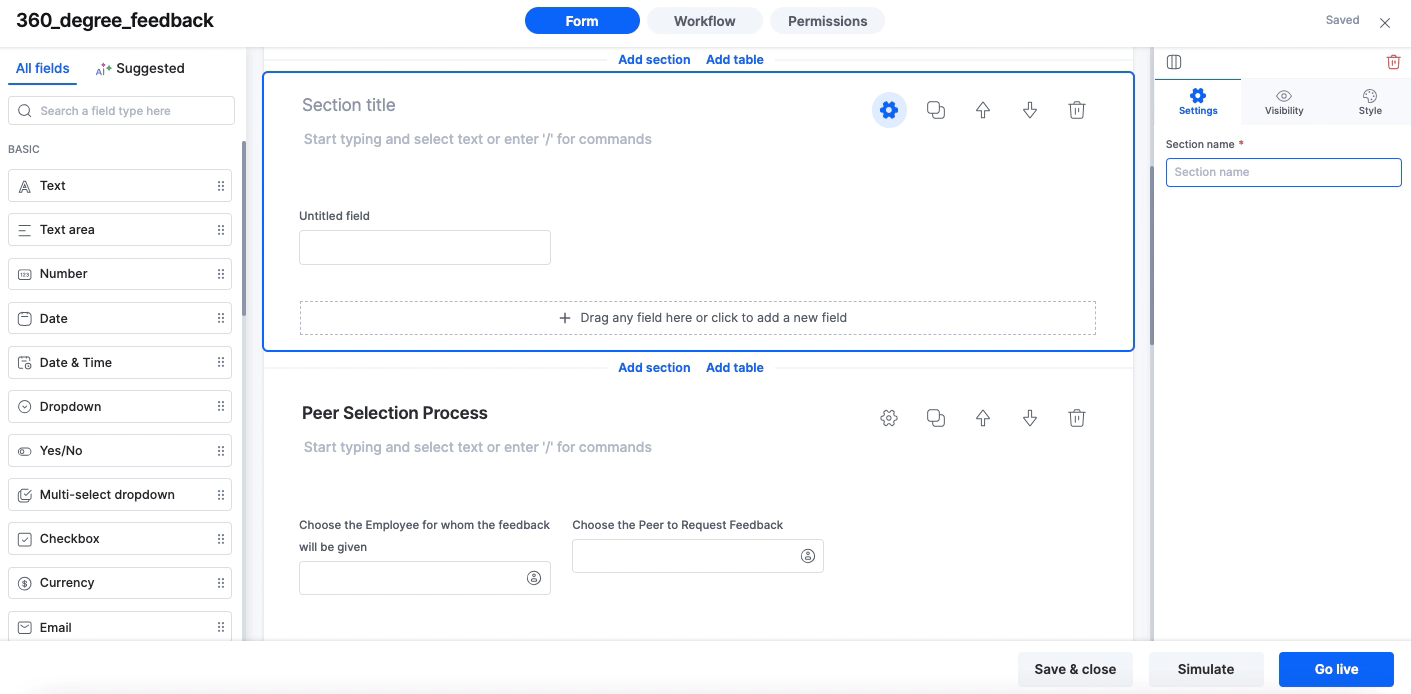
Similarly, you can access the section settings and modify its visibility conditions in two ways: One, from the top of the section, and the other way is to access its settings from the right side Properties panel.

- Click the Gear icon (
 ) to access the section settings. By default, the section will always be visible, but you can change it to hidden. You can make the section conditional by adding a visibility rule under its Visibility settings. To add a condition, choose a Field, Operator, and Type, and map it to a value or a field based on the type. You can add multiple conditions.
 - To duplicate a section, click the Clone icon (
 ). A copy of the section will be created below.
 - Click the Up arrow (
 ) or Down arrow (
 ) to rearrange the sections.
 - Click the Trash icon (
 ) to delete the entire section.
Fields
Fields are the building blocks of your form. It is the primary medium through which you collect user inputs in a flow.
The left panel will feature two main categories for grouping field types:
All fields.
AI-suggested fields.
The All fields tab will be further organized into sub-categories such as:
Basic fields.
Advanced fields.
File and media.
Data lookup.
Widget.
You can drag and drop a field of your choice from the left side Fields panel onto your form editor.

Other field actions
- To rearrange the fields within a section, just drag and drop them in their new position. You can also move fields individually(one by one), or as an entire row whichever works for you.
- To resize a field, hover over the margin/border of a field to get hold of the resize icon with which you can increase or decrease the width of the field as necessary.
- A row can accommodate a maximum of six fields.
- To access the field settings and modify the other field properties, hover over the field and you will find the relevant icons in the centre. Click the appropriate icon to modify the field's properties as necessary.
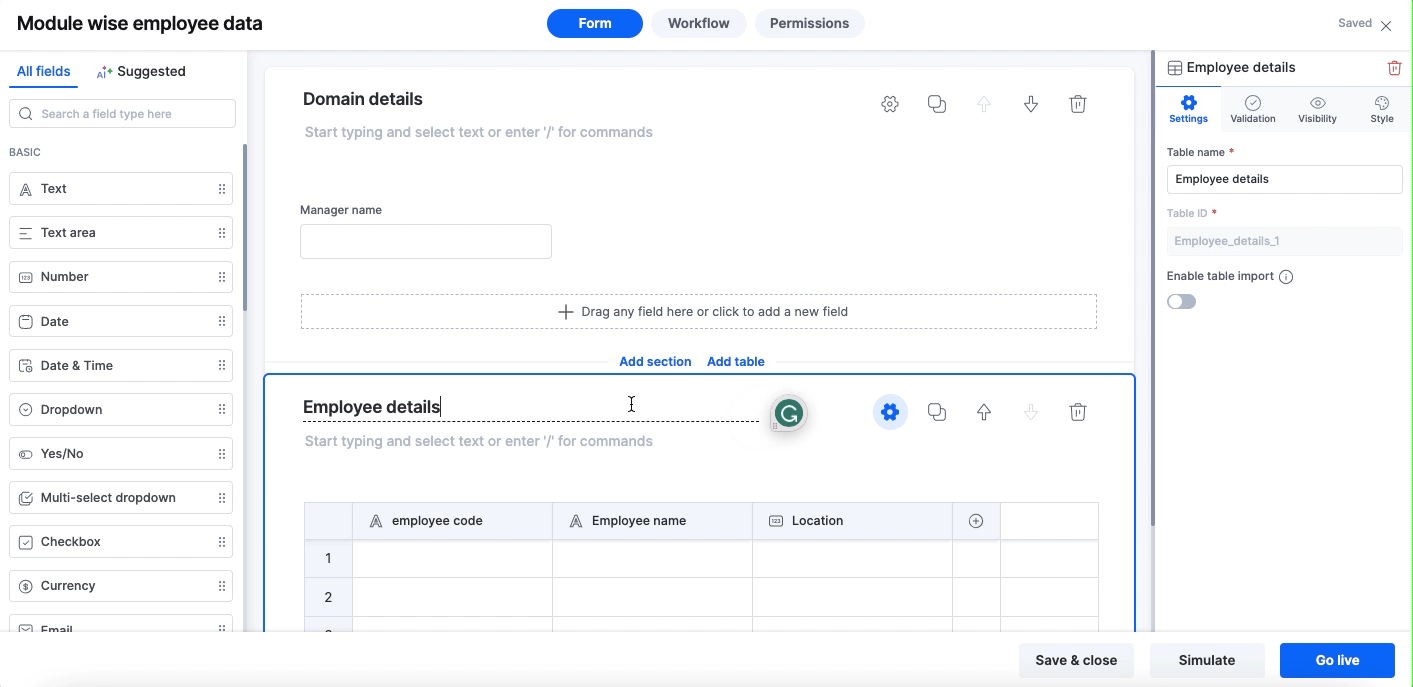
Child tables
A child table acts as a separate section and lets you collect and manage data in a tabular format. To add a child table, click Add table. Click the Add button ( ) to add a new field. You can add as many fields as you want to a child table.
You have the same options for child tables as you do for sections. Additionally, in the table settings, you can set validations to control the minimum and maximum number of rows that must be completed.

Configuring CSV data import
You can enable users to populate data in the child table by importing CSV files. Follow the below steps,
Click the Settings icon (
) within the child table’s section. Turn on Enable table import from the properties panel on the right.
Upon configuration, users will have the option to import CSV files during the form’s runtime.
Importing data from a CSV file
In runtime, users can manually enter data into these tables or import data from a CSV file.

The CSV Import feature allows you to import data in bulk into Child tables. Here are some guidelines to follow when preparing a CSV file for import:
- Mandatory fields: If mandatory fields exist in your child table, you must map at least one column in your CSV file with the required fields.
- Data: Within the CSV file, you can map only the following field types to your child table: Text, Text Area, Number, Rating, Date, Date-time, Currency, Yes/no, User, Single-select dropdown, Multi-select dropdown, Slider, Checkbox type fields.
- Delimiter: You must only use the comma (,) as a delimiter inside the CSV file.
- Rows: The CSV file can only have up to 1,000 rows, excluding the header.
- Encoding: The CSV file must have a .csv extension that supports UTF-8 encoding.
Once you have confirmed that your CSV file meets the above requirements, follow these steps to import the CSV data to your Child table:
- On the top right corner of the child table, click Import CSV.
- Select the location from which you'd like to upload and select your desired file with a .csv extension.
- After importing the CSV file, the system checks it for file corruption and delimiter errors. If any errors are found, correct them in the CSV file before re-uploading it.
- Click Next to continue. Then map the column(s) from your CSV file to the fields in your child table. You must map at least one column to any of the headers. For example, you can choose to map the Email addresses column from your CSV document into the Email field in your child table
Note:
CSV header names and data fields must be of the same data type.
Following the mapping of your columns and fields, you can choose how to handle data while importing. You can choose to delete existing rows and import new rows, or you can choose to keep the existing rows and import new rows.
After you have selected your options, click Next. Your data will begin importing.
Setting unique fields in child tables
In your form editor, you can set one field as unique in each child table. For example, if your form contains three child tables, you can mark one field as unique in each of these tables. Once set, this field will only accept unique inputs from the end user and trigger an error if a duplicate value is entered.
Note:
This feature is only applicable to individual form items. The uniqueness of the inputs gathered from the users will only pertain to the table in their individual form submissions and will not be validated across all the submissions received from multiple users.
To designate a field as unique, select the field and turn on Mark as unique from the right side field properties panel.

At this stage, you can customize the error message you wish to display to your users when they enter a duplicate record. A generic error message will be displayed if no custom error message is specified here, preventing users from submitting the form.