
 User guide
Field appearance

The appearance of a field in the live form is as same as how it looks in the form editor. You can modify the appearance of certain fields using the Style settings.
Accessing Style settings
Hover over the field for which you would like to modify the style in your flow form and click the paint brush icon. The style settings will be displayed to your right-hand side. You can also directly click the Style tab from the Field properties window to your right side fields panel.
(Field properties > Style (
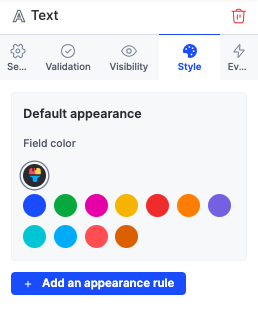
Initially, the default system color is applied to the fields. When you change the default color and publish, the new color changes will reflect immediately on all existing - in-progress, completed, and new requests.
In the following screenshot, the default appearance of the Choose the Peer to Request Feedback field is set to Green.

Adding appearance rules
An appearance rule lets you change the appearance of a field based on a certain condition or other data in the form. For example, you may want a number field to be highlighted in red if its value is less than 2. In the following example, the Peer rating field is configured in such a way that it will appear red when its value is less than 2.

The above result was achieved by implementing the following steps:
- Create a number field named Peer rating.
- Click the Style settings in the right-hand panel or hover over the field and click the paint brush icon to modify its field appearance directly.
- Click Add an appearance rule in the Field properties window.
- Click Less than and enter the value 2.
- Select red color from the color palette. Your changes will be autosaved.
Note:
Appearance rules are based on the field type and match the same used for field validations.
Use the Simulate option at the bottom of the screen to see how your field will display.
You can add multiple appearance rules for each field.
Changing the appearance based on the step
If you want to change the appearance of a field depending on what step it is in, you can do that in the Permissions tab.