User guide
Managing page properties

The page editor provides page-level properties that enable you to set page details, background color, and layout of your page. The steps to access these properties are as follows:
- Open your application.
- In the Application builder, select the required page, then open the page editor.
- Click the Settings button (
 ) beside the Preview button. The Page properties pane slide in from the right:
 - Manage the properties as required.
General settings to set a background image or color for your page
- Under the General tab, you can change the general metadata of the page like the name and description.
- Additionally, under Style, select the default background image or color of your page. Your selection will be auto-saved.
- You can import the image from your local machine or from a hosted URL.
- You can choose any one of following system colors: Blue, Green, Red, Magenta, Orange, Yellow, Purple, Teal, Sky blue, Bitter sweat, Orange brown, Gray 1-6, Background 1-3.
Input parameters
An input parameter allows you to provide data to a component for further use. The input parameter becomes available in that page component's scope. It is automatically invoked when the page is accessed.
For instance, if you add an input parameter to a web client Action, you can:
- Provide a name, description, and value for that input parameter when calling the web client action.
- The data type can either be Text, Number, or Boolean.
- Input parameters can be mandatory or optional, according to their Is mandatory property.
- Use the value in the workflow of the web client action, for example in expressions or as a part of input parameter values of other calls.
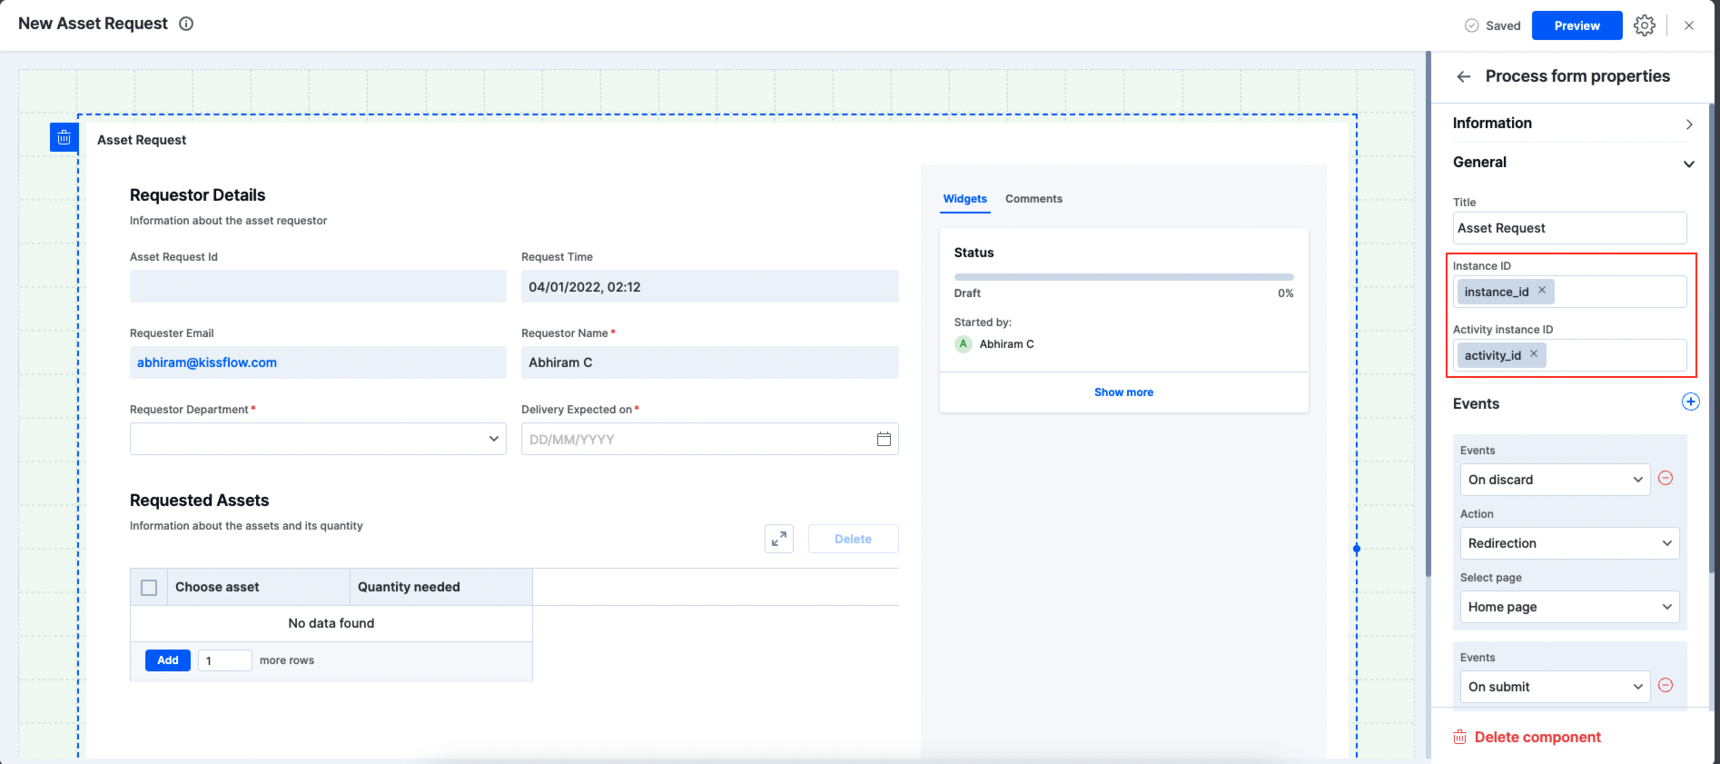
In the following example, there are two input parameters for this process form component: instance_id andactivity_id
When this page is accessed from within your application, the instance_id andactivity_id
are additionally passed along with the header of this page. This will allow a specific form to open up within the application.
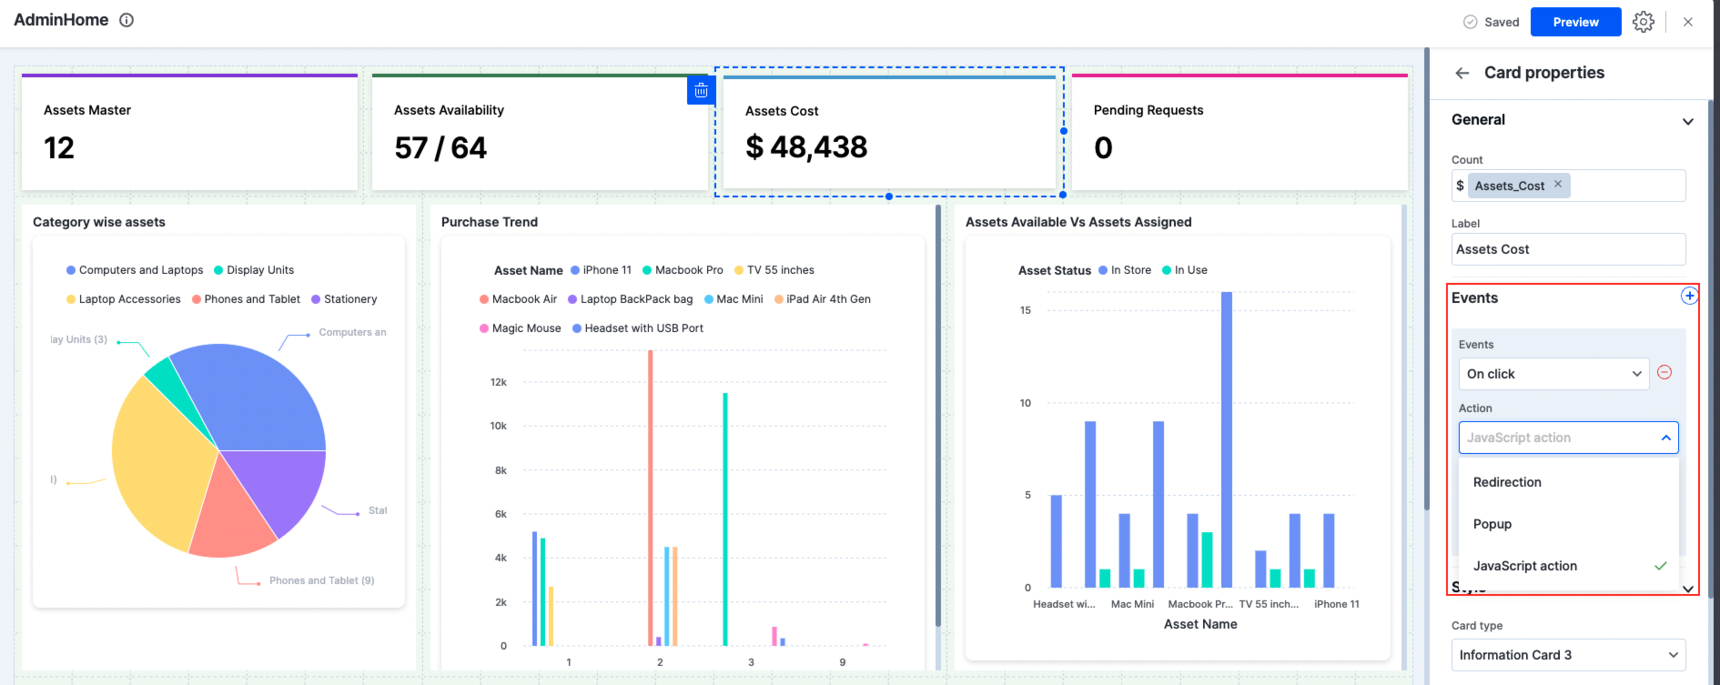
Events
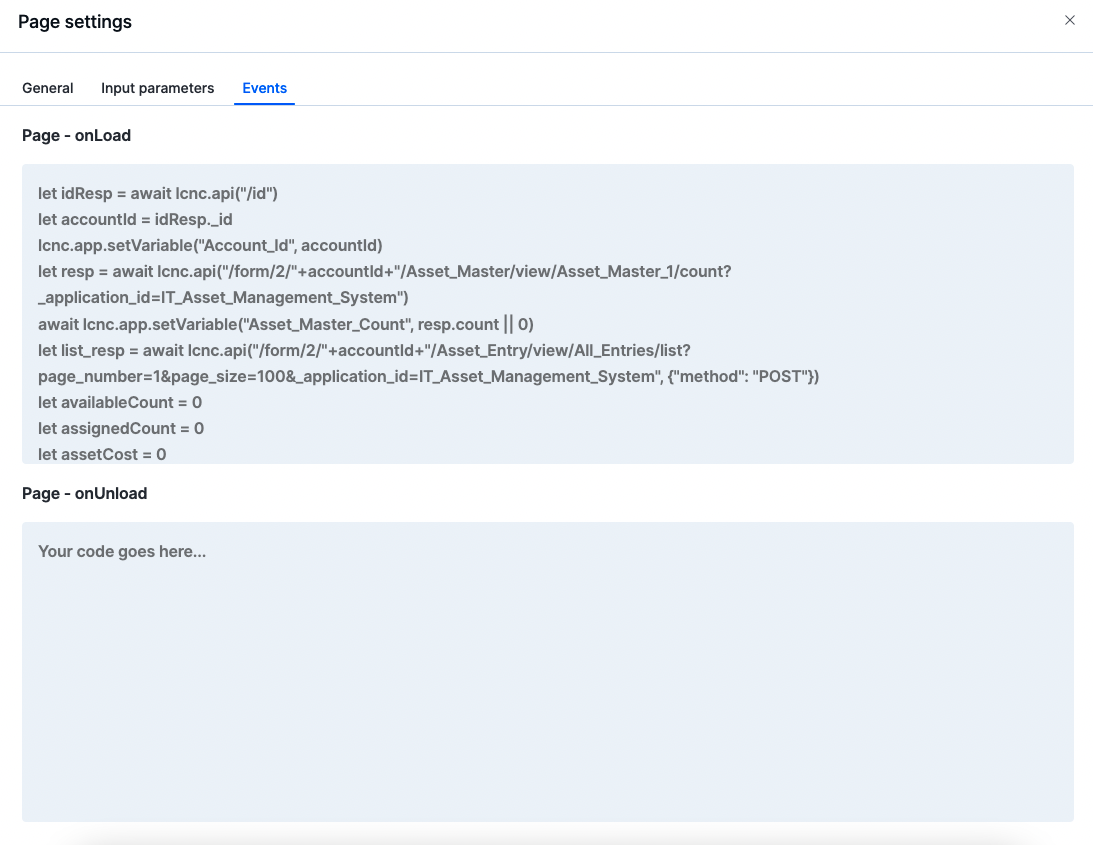
You can propagate changes within a component like card using the events code snippet. The JavaScript code can be added to on load (when the page is refreshed) and on unload (when navigated to a different page) events. You do that by:
- Defining an Event in the code editor using pure JS code. To define a code, simply click the code block and the code editor opens up. You can make use of your global variables and page-level input parameters within your code.
- Defining handler Action that is triggered by the Event.
- Events are usually triggered when clicked.
- Handler actions are either redirections, opening pop-ups, or executing the JS code added to the events tab.
- Once the application starts running, the card triggers the actions in its parent page and passes the parameters to fetch the real data.