
 User guide
0
Connecting Kissflow connector for BI with Microsoft Power BI

After successfully configuring your Kissflow account with Snowflake data warehouse, you must then connect Kissflow connector for BI with Microsoft Power BI.
Connecting to a Snowflake computing warehouse
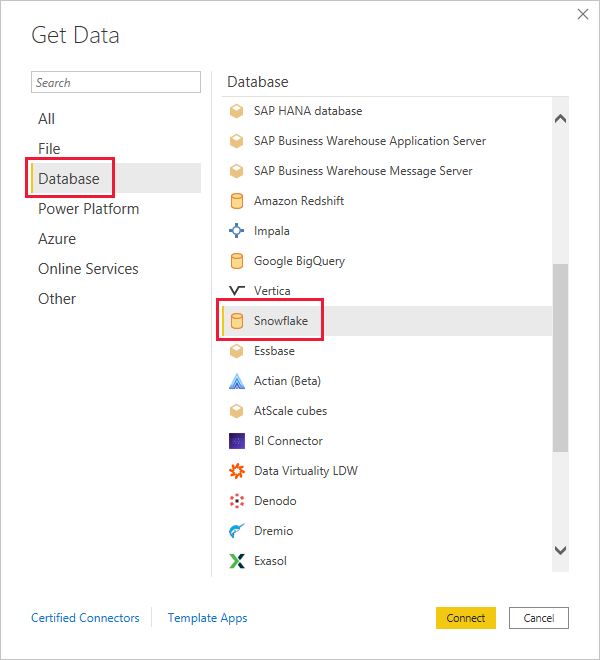
- To connect to your Snowflake database, go to Home > Get Data section in your Microsoft Power BI desktop client. From the dropdown list, select Database > Snowflake.
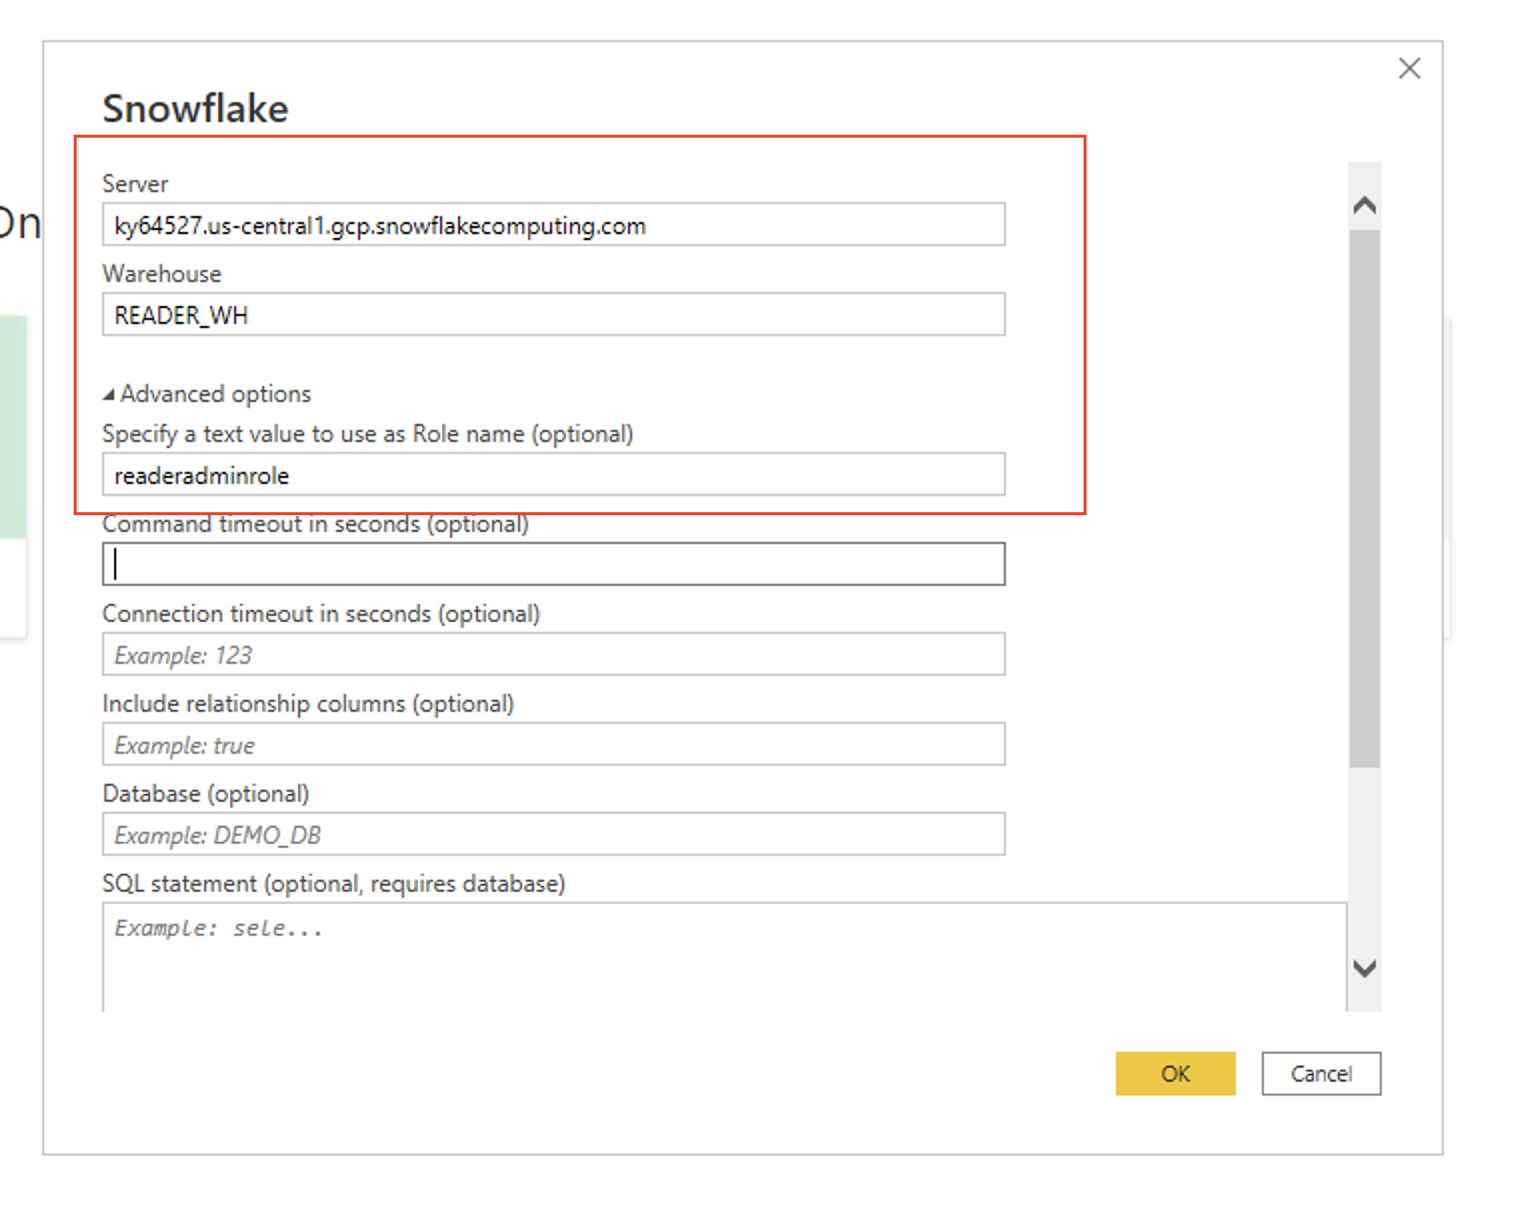
- Enter the information in the Snowflake window that appears. It's worth noting that you can import data directly into Microsoft Power BI. Other fields should be left blank.
- Enter the Snowflake URL in the server field without https:// at the start and / at the end.
E.g., xxyy11.us-central1.gcp.snowflakecomputing.com - Next, enter the warehouse name - READER_WH and click OK.
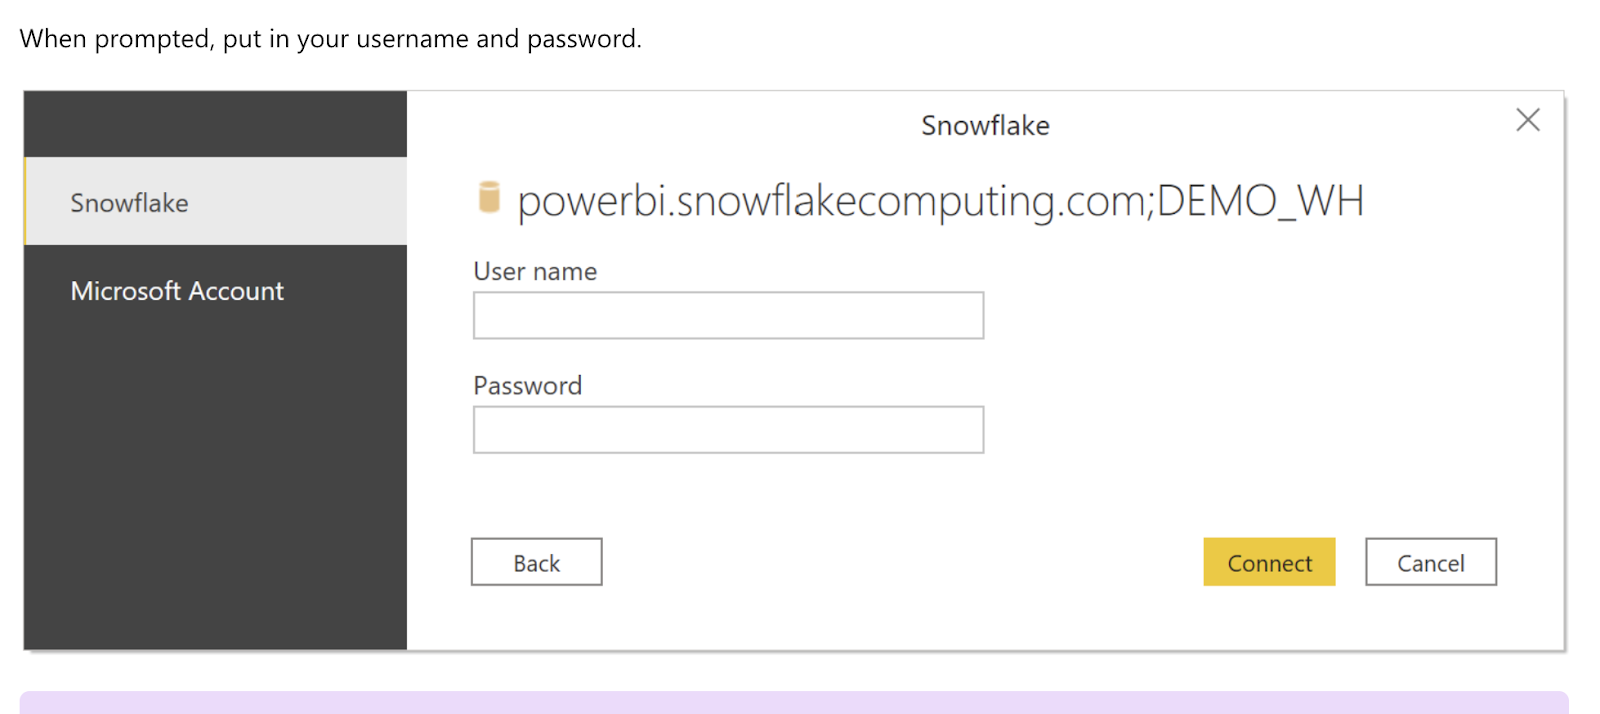
- When prompted, enter the username and password in the relevant fields, as shown below. Once done, click Connect.
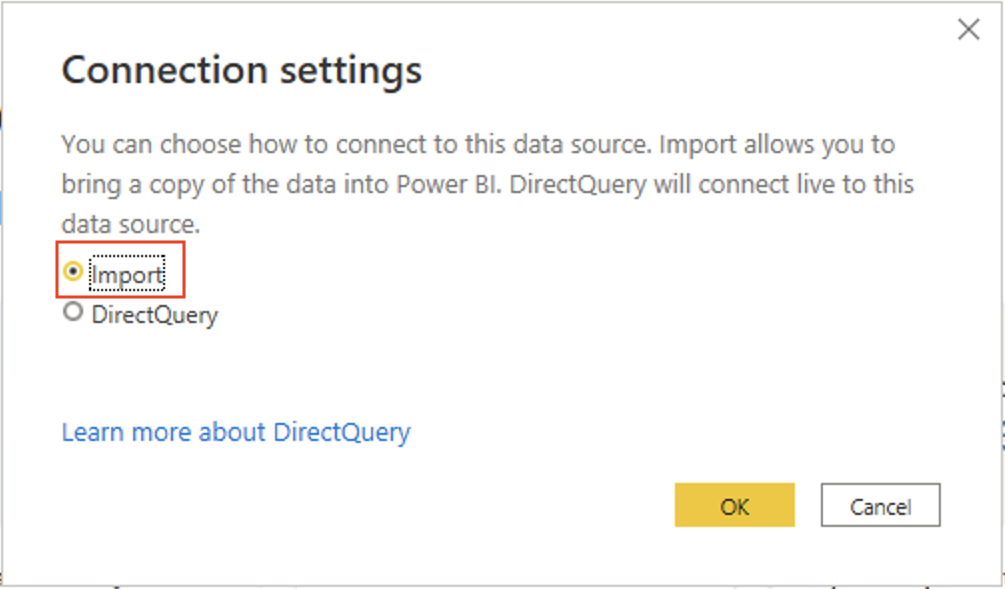
- Next, you can decide how to connect to the data source. Click Import to import a copy of your data into Power BI. Click OK.
Choosing your Kissflow flows in Microsoft Power BI
- After validation, you can now see your Account ID as a database on the left side navigation bar. When you expand it, you'll see your flows displayed as tables. On this page, you will discover detailed information on the tables, fields inside them, and views.
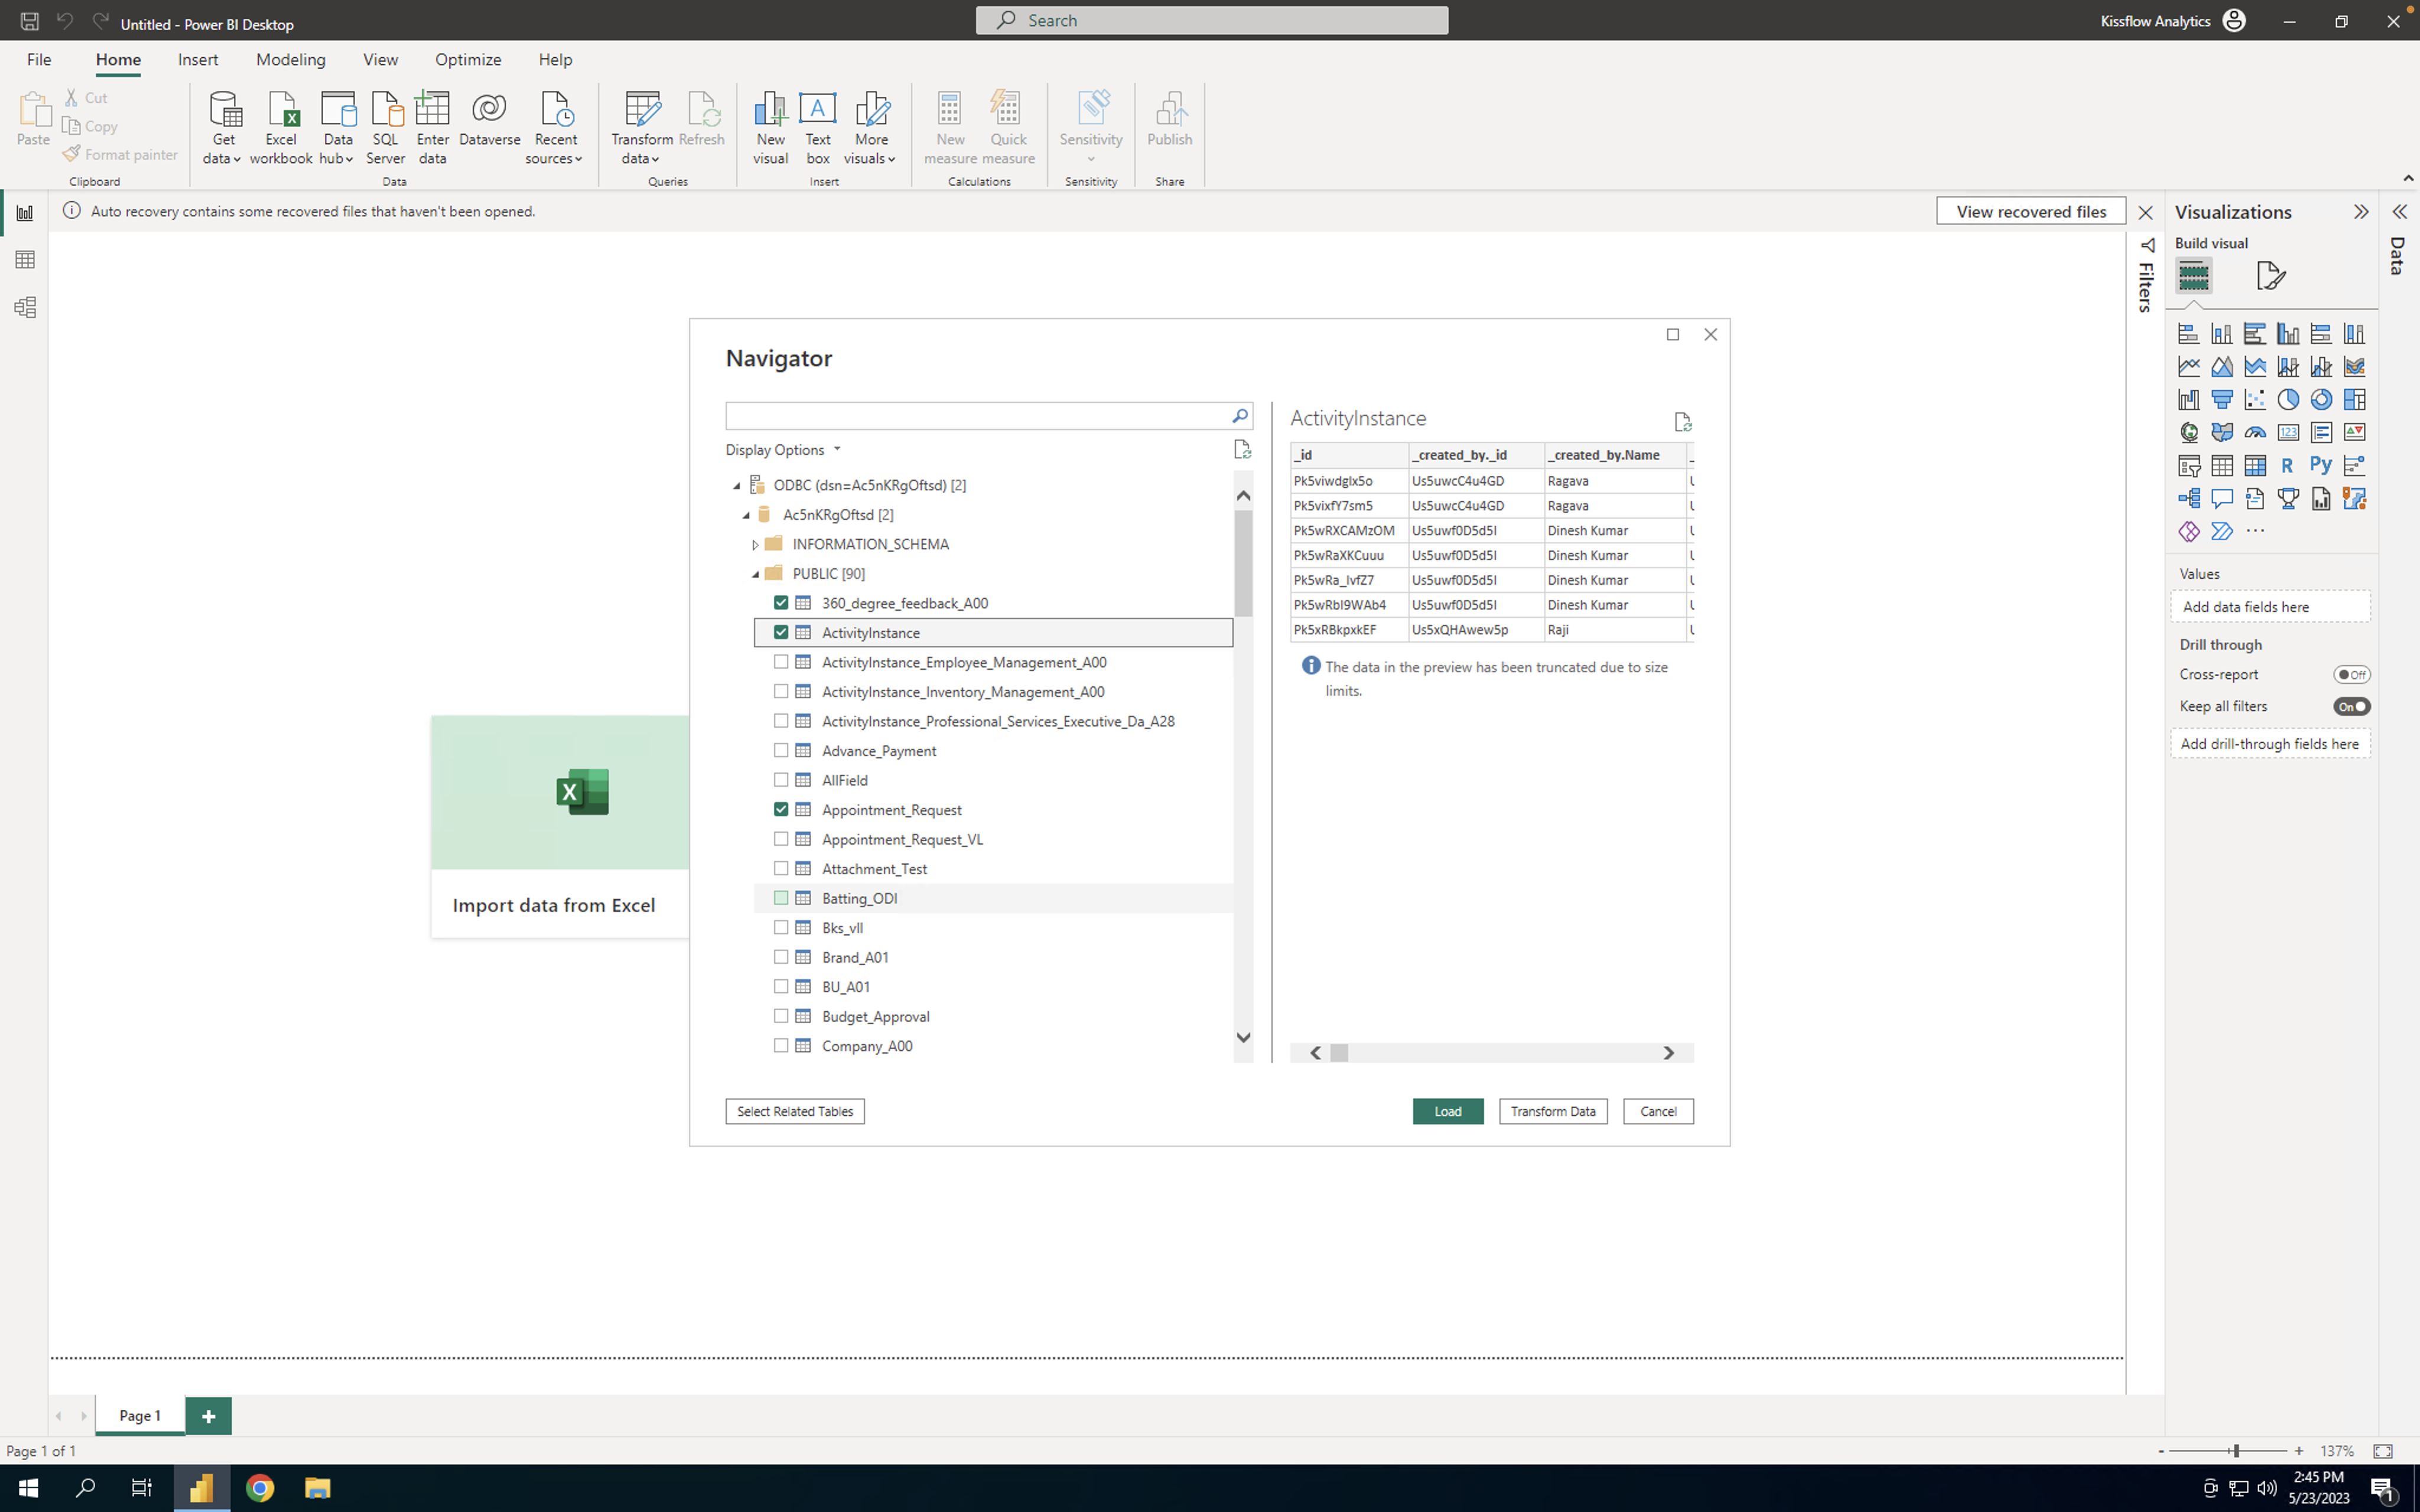
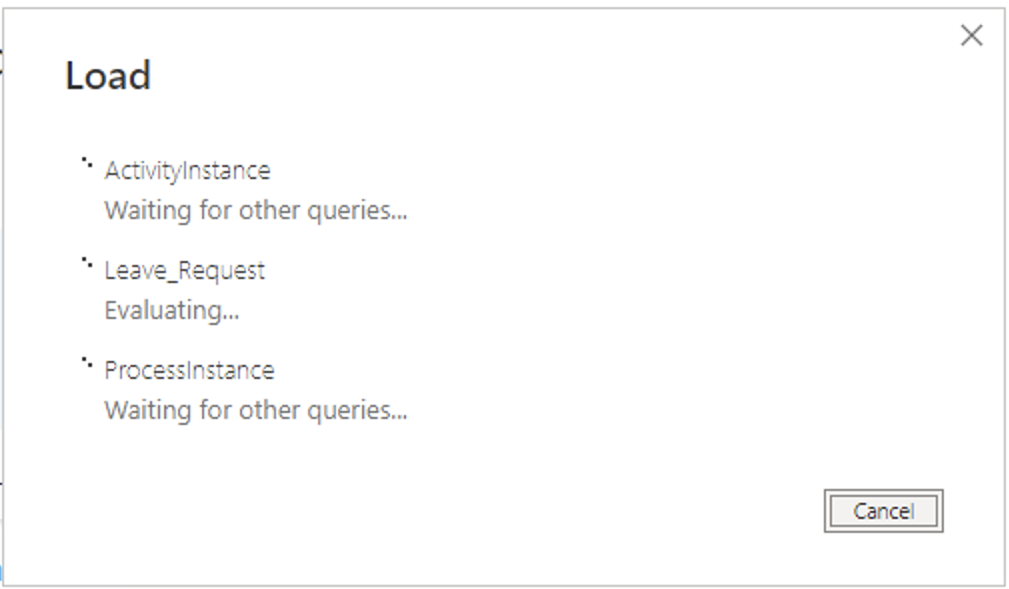
- Once you have selected the flow, click the Load button. The data will be imported into Microsoft Power BI soon.
Creating a dashboard over your Kissflow data in Microsoft Power BI
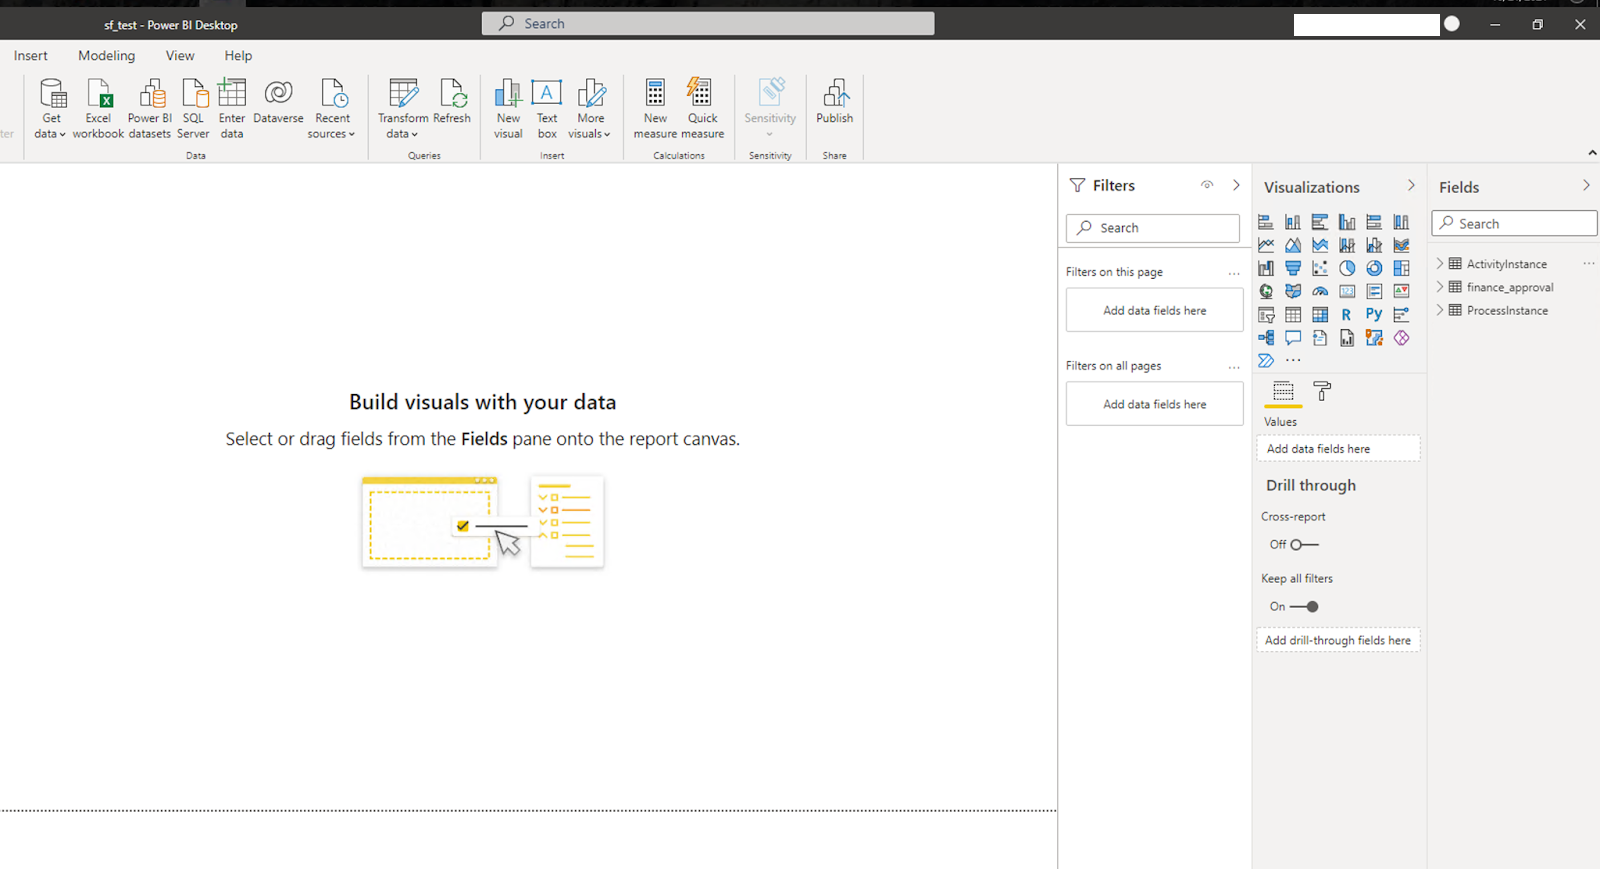
- Once the import is completed, you can now see the selected tables listed on the right panel.
- Now, let's calculate the number of activities in each state, as well as the total number of flows in your account, and filter by date.
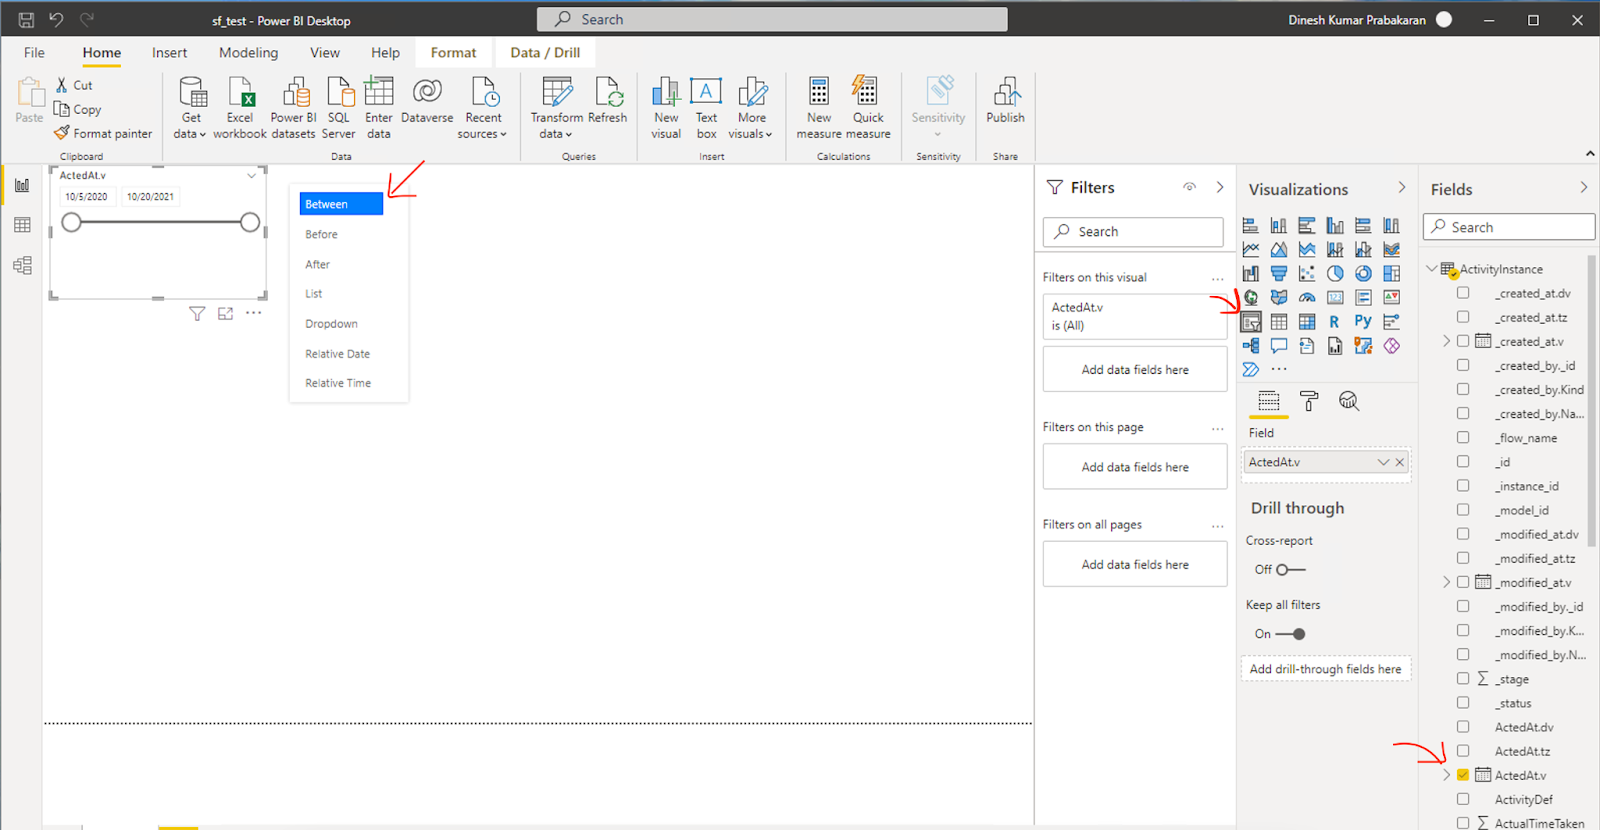
Date filter
Choose the Date filter widget from the Visualizations panel on the right side of the screen.
Select the field, _acted_at from the ActivityInstance table.
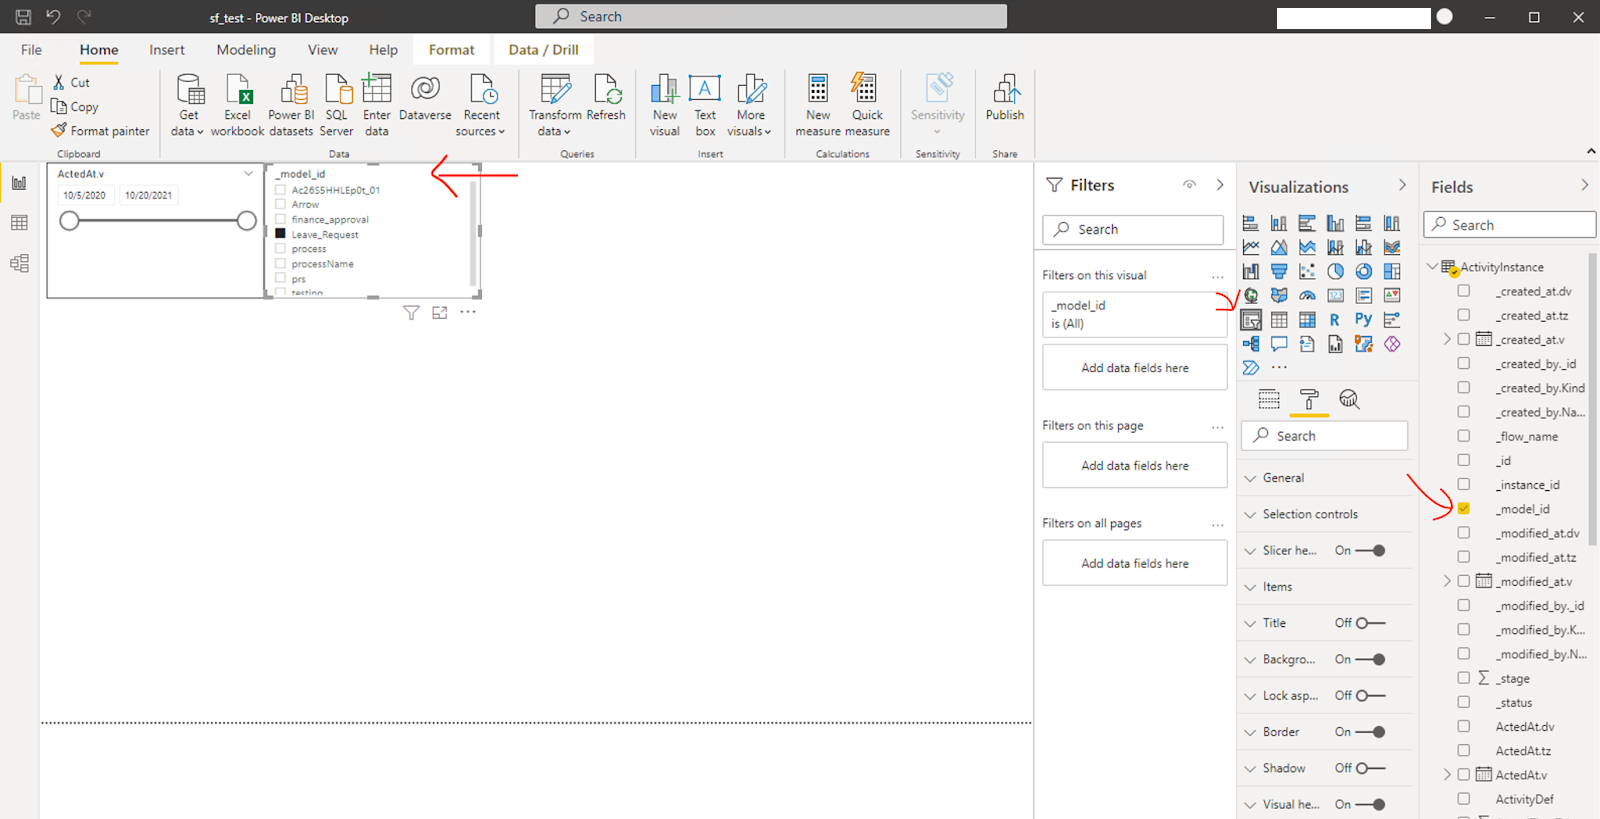
Flow filter
- Choose the Combo box filter widget from the Visualizations panel.
- Select the field _model_id from the ActivityInstance table.
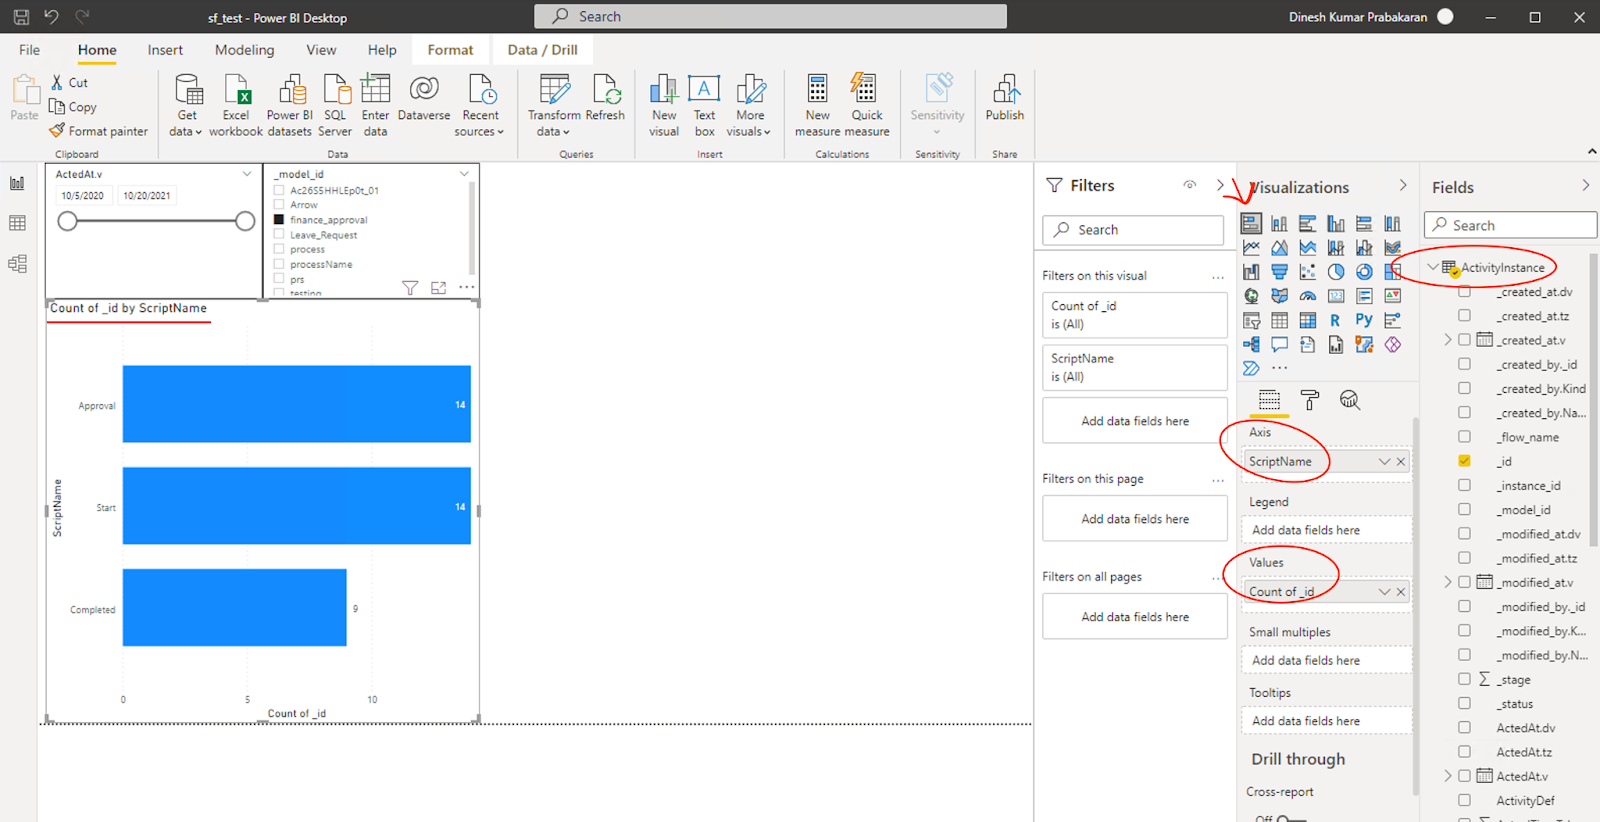
Funnel widget
- Choose the Funnel widget from the Visualizations panel.
- Select the field, ScriptName from the ActivityInstance table and place it in the Axis.
- Select the field _id from the ActivityInstance table and place it in Values. Make sure the aggregation is set to Count so that we can see how many workload activities occurred in each state for the selected flow and date range.
You can now use your Power BI dashboard to analyze the activities that occur in your Kissflow account's process flows. Similarly, create various workload monitoring dashboards, workload process activity dashboards, engage with your team, and improve your workflow.