
 User guide
Dropbox connector

What is Dropbox?
Dropbox offers cloud storage, file synchronization, and personal cloud solutions for everyone.
About Kissflow's Dropbox integration
Kissflow Integration's Dropbox connector allows you to link and synchronize your Dropbox folders and files with popular third-party apps and Kissflow apps. To integrate with Dropbox, you must have an active Dropbox account and be a paid Kissflow customer.
Use the Dropbox connector to receive data from other flows or apps in order to perform particular actions. For the time being, the Dropbox connector does not support any trigger events.
You can, for example, configure a workflow to save your Kissflow Process attachments to Dropbox. The Dropbox connector integration allows you to save these attachments to specific Dropbox folders.
Action(s) in Dropbox connector
Action event(s) |
Description |
Create a folder |
This action creates a new folder at the specified path |
Upload a file |
This action uploads a file or attachment to Dropbox. The maximun upload file size is 150 MB. |
Move a file/ folder |
This action moves a file or folder from within one folder to another |
Find a file/ folder |
This search action finds a specific file or a folder by name |
Find a file |
This search action finds a specific file by name |
Dropbox connector as an action step
- Inside your Kissflow account, click your profile picture on the top right corner of the screen and click Integrations from the dropdown. Next, click the New integration button to provide a name and description for your integration.
- Once inside your editor, set up a trigger step, for example, a Kissflow Process trigger event, When an item completes its workflow.
- After setting up your trigger step above, click the Add button (
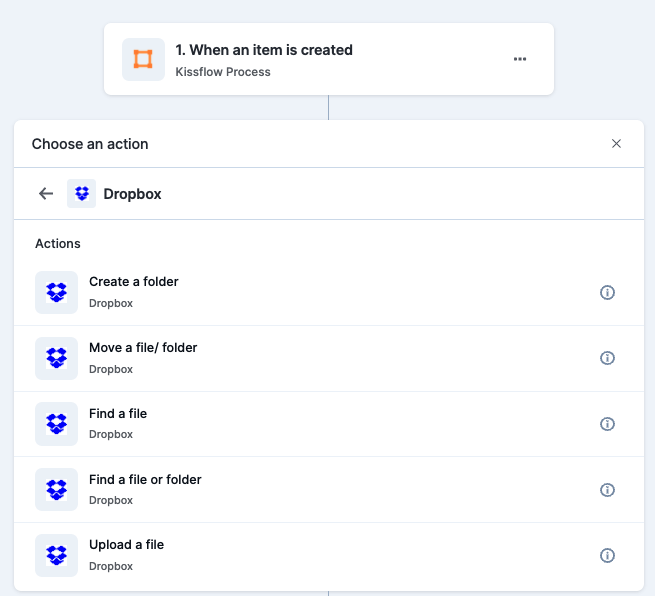
) next to set up your action step. Search for Dropbox and select a desired action.
- After choosing your action event, authenticate the connector. Click +Add an account and sign in using your Dropbox. Kissflow uses Dropbox's OAuth for authentication.

- After authenticating with your Dropbox, the next step is form configuration. You can add relevant values against the Dropbox form fields and map fields from the previous steps. These values will be automatically added to item fields after the action is executed.
Click Refresh fields to view all the updated fields in the selected Dropbox form.
You can also use the functions button () to open the formula editor to write any custom formulas.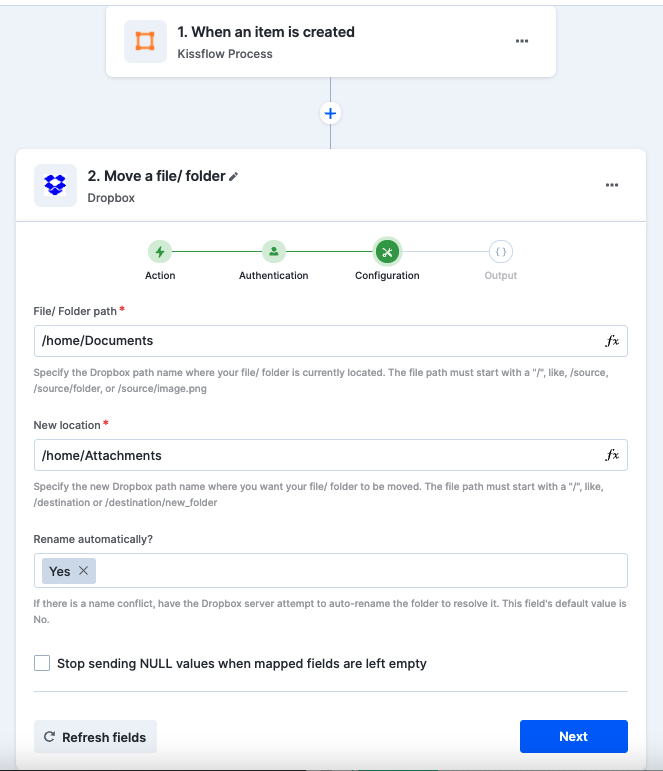
- Click Next.
- After a successful configuration, test whether your Dropbox action step is set up correctly. You can choose to use Sample data or Test with the original configured data to make an API call.
Based on your choice, the connector will pull field data from your selected Dropbox account and display it as a JSON output. Similar to trigger step, errors are notified to you right away. Fix them before retesting the action step.
Setting up a Dropbox connector
After creating a custom workflow with your Dropbox connector's action steps, switch ON the toggle button to activate the integration run. Once a trigger event occurs, the Dropbox's actions are activated.